How to Edit a Widget on a Dashboard
You can customize a dashboard by making modifications to the widget. Consider these recommendations before making any changes:
• Any objects delivered by PTC during an upgrade process will overwrite any changes you have made
• Use the Save As functionality to save a copy of your modified dashboard
• Make a clone of the Intellicus object before making any updates
You can edit a widget on a dashboard by clicking  on the toolbar of the dashboard. When Edit Mode is enabled (
 ), you can do the following on the widgets of the dashboard:
Change the View Type of a Widget
When Edit Mode is enabled, an icon that depicts the current view type selection is displayed on the toolbar of the widget. If you click the icon a selection box appears where you can select a different view type. For example,  indicates that the data is displayed using the Counter view type. When you click the Counter icon a selection box appears where you can select a different view type.
indicates that the data is displayed using the Counter view type. When you click the Counter icon a selection box appears where you can select a different view type.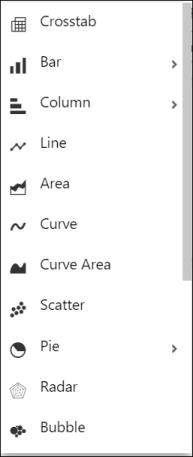
If you select the Line icon, the widget displays the data using a line chart and the toolbar of the widget changes from 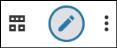 to
to 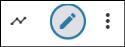 .
.
to .Some view types can be displayed in 2D or 3D mode. This option is available when |
Change the Fields and Properties of a Widget
When Edit Mode is enabled, you can change the fields and properties of a widget by clicking  on the toolbar of the widget. This opens a panel with a Fields tab and a Properties tab.
on the toolbar of the widget. This opens a panel with a Fields tab and a Properties tab.The following diagram is an example of the Fields and Properties tab displayed next to a widget.
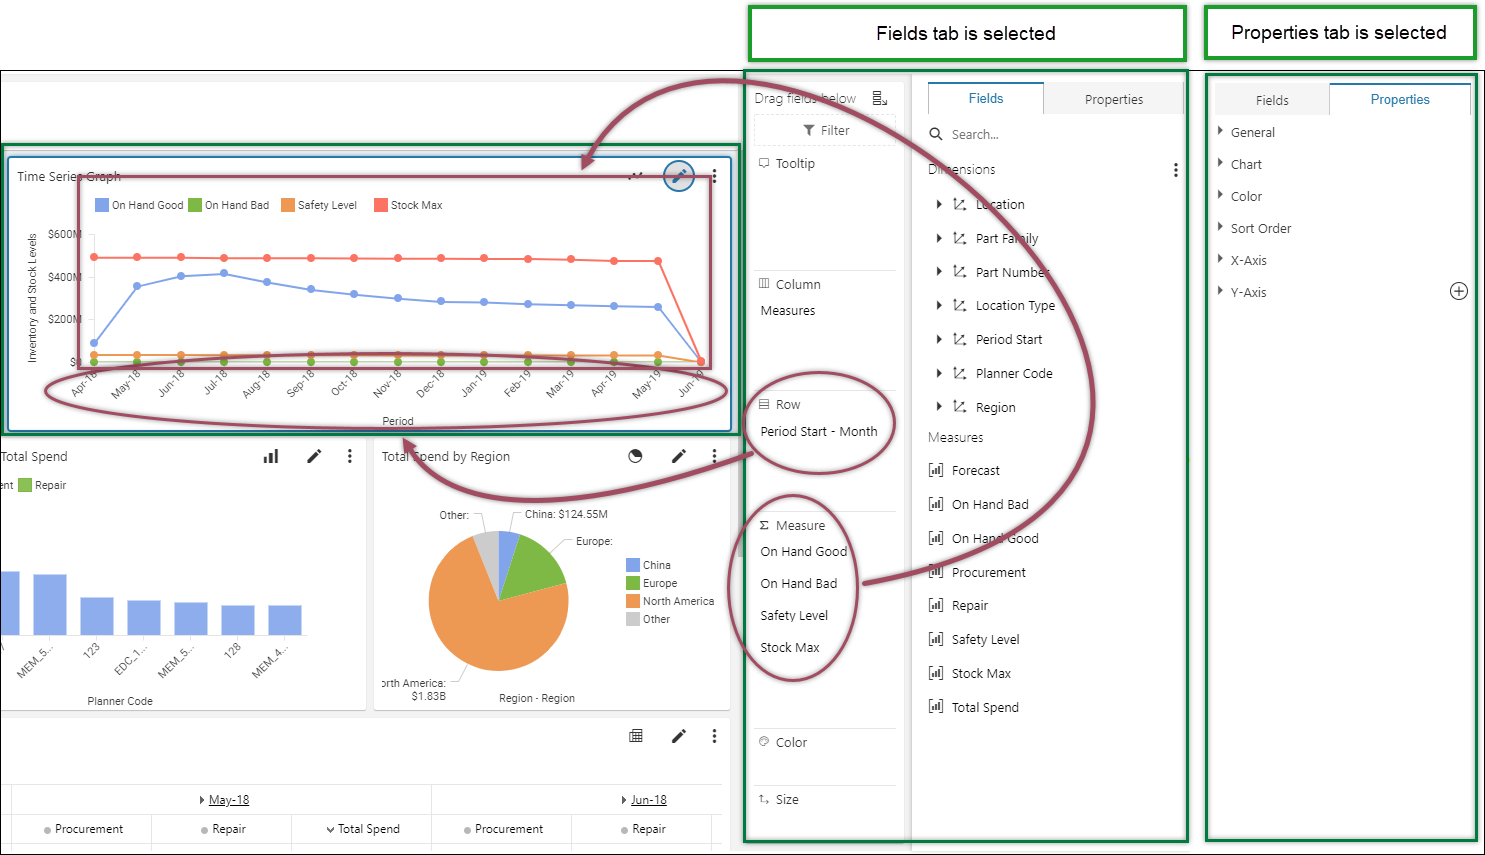
Some key points to keep in mind when making changes to a widget:
• On the Fields tab, the Row and Measure selections are what impact the data display
• On the Properties tab, the visual appearance of the widget can be changed but it does not impact the display of the datat
Refer to the Intellicus Documentation for further details about changing the fields and properties of a widget. |
Up next...